

Posted On 25 Aug 2026
A laptop that only runs for a few minutes without its charger can turn a simple task into a daily frustration. Learning how to replace laptop battery can be a practical fix, but the right approach depends on your computer’s design, the condition of the battery, and whether the replacement is worth the cost.
Some batteries slide out from the bottom of the computer in seconds. Others are secured inside the case with small screws, delicate cables, and adhesive strips. Before opening anything, take a few minutes to confirm the problem and decide whether this is a comfortable do-it-yourself repair or a job better handled by a technician.
Know When the Battery Is the Problem
A short battery life does not always mean the battery has failed. A computer that is running hot, has too many programs open at startup, or has a failing charger may also seem like it cannot hold a charge. Check whether the charging indicator appears when the charger is connected and whether the charging cable fits firmly in the port.
Common signs of a worn-out battery include a charge that drops quickly, a computer that shuts down unexpectedly, a battery percentage that jumps up or down, or a warning that the battery needs service. Batteries naturally lose capacity over time. For many people, that becomes noticeable after several years of regular use.
One warning deserves immediate attention: a swollen battery. If the bottom case is bulging, the keyboard is lifting, the touchpad is harder to click, or the computer no longer sits flat, stop using it and disconnect the charger. A swollen battery can damage other internal parts and should not be pressed, punctured, or thrown in household trash.
Before You Replace a Laptop Battery
Start by saving your work and backing up important files. Replacing a battery normally does not affect stored data, but backups are still a smart precaution before any computer repair. If your computer is working, shut it down completely rather than putting it to sleep.
Next, find the exact model number. It is often printed on a label on the bottom of the computer or listed in the system information screen. The brand name alone is not enough. Computers in the same product line can use different batteries, connectors, screw locations, and voltage ratings.
Purchase a battery made specifically for that model. A lower-priced replacement may be tempting, but poorly made batteries can have incorrect capacity claims, unreliable charging behavior, or a poor physical fit. Look for the correct part number, voltage, connector type, and shape. If any of these details do not match, do not force the battery into place.
You will usually need a small precision screwdriver set, a clean work surface, and a container for screws. For internal batteries, a plastic opening tool can help separate the bottom cover without scratching it. Avoid using metal tools near battery connectors or circuit boards whenever possible.
How to Replace Laptop Battery With an External Pack
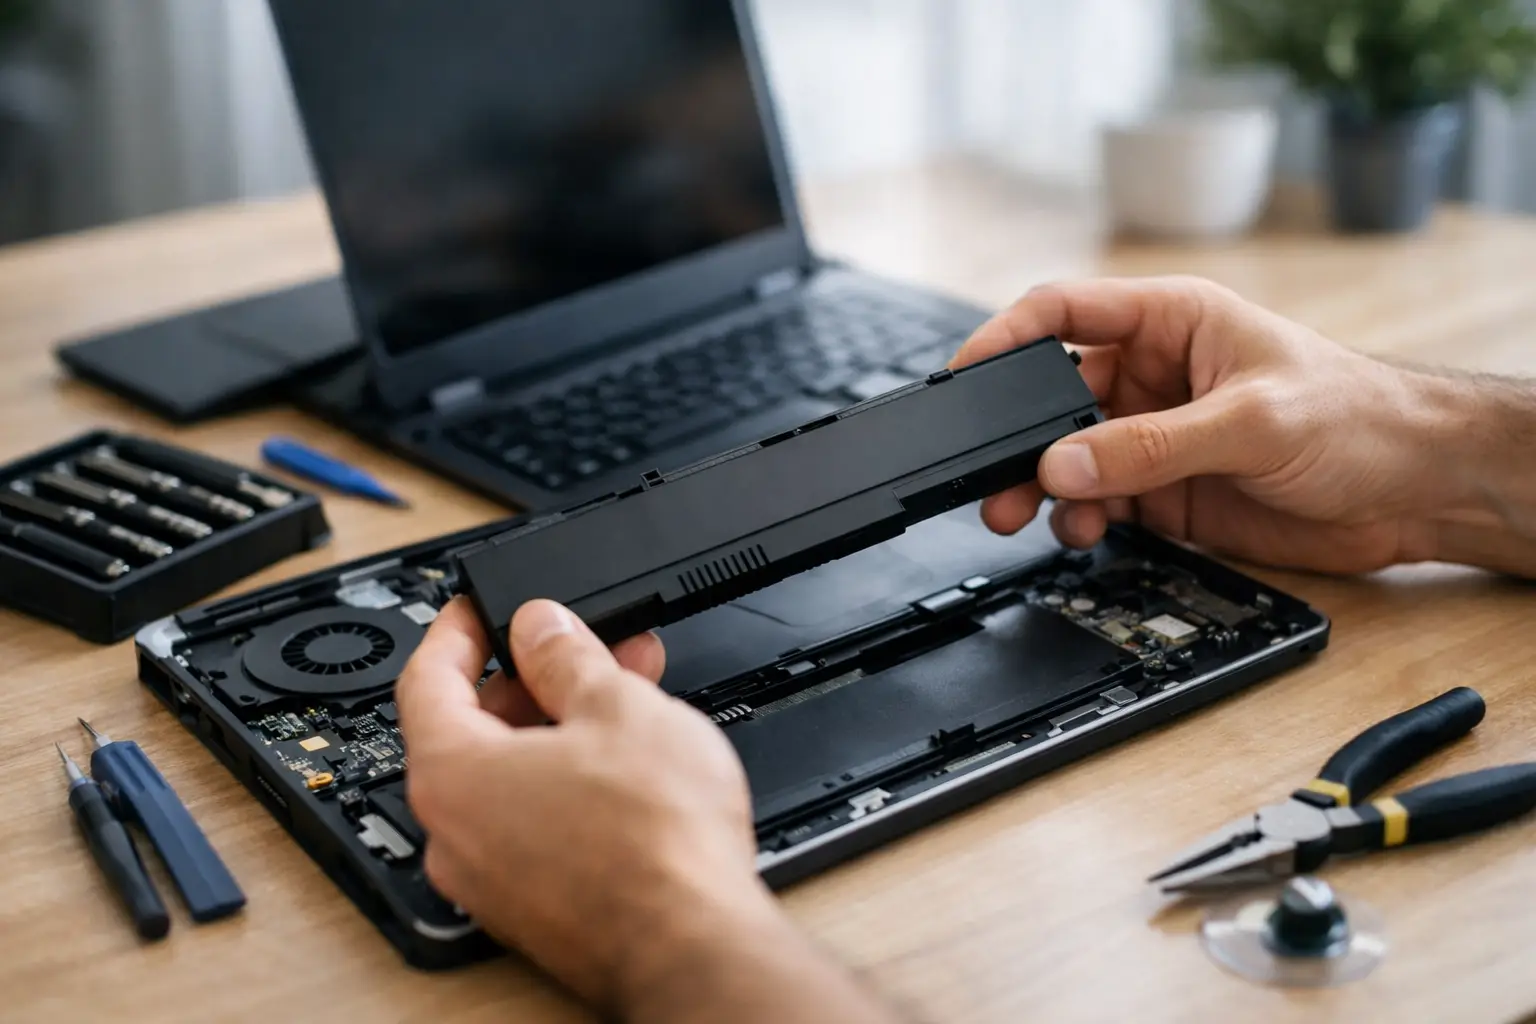
Older and some business-focused computers have an external battery pack that locks into the underside of the case. This is the simplest type to replace.
With the computer powered off and unplugged, turn it over on a soft, clean surface. Locate the battery release latches. One latch may slide and stay in place, while another may need to be held as you lift or slide the battery out. Do not pull hard. If it does not release easily, recheck the latches.
Align the replacement battery with the compartment and press it in gently until it clicks into position. Turn the computer right-side up, connect the charger, and allow the battery to charge. After startup, check that the system recognizes the new battery and that it continues charging normally.
Replacing an Internal Laptop Battery
Internal battery replacement takes more care because the battery sits beneath the bottom cover. The process varies by model, so a service manual or model-specific instructions are useful if available. If instructions conflict with what you see inside the computer, stop and reassess rather than guessing.
First, power down the computer, unplug the charger, and remove any connected accessories. Hold the power button for about 15 seconds after unplugging it. This can help discharge residual power from the system.
Remove the screws securing the bottom cover. Keep track of where each screw came from because lengths can differ. A long screw installed in the wrong location can damage the case or internal components. Carefully release the clips around the cover with a plastic tool. If the cover resists, check for a hidden screw before applying more pressure.
Once inside, locate the battery. It is usually a flat rectangular component occupying a large area of the case. Before removing its mounting screws, disconnect the battery cable from the motherboard. Pull on the connector itself, not the wires. Some connectors slide horizontally, while others lift straight up, so inspect the direction carefully.
Remove the battery screws and lift the old battery out gently. If it is held down with adhesive, do not bend or puncture it to loosen it. This is a point where professional help is often the safer choice, especially if the battery shows swelling or the adhesive is strong.
Place the new battery in the same orientation as the old one. Secure it with the correct screws, reconnect the cable firmly, and inspect the area for any loose screws or pinched cables. Reinstall the bottom cover, replace the screws without overtightening them, and connect the charger.
Test the New Battery Before You Rely on It
After the repair, let the computer charge to a full battery level. Start it and confirm that the charging status appears correctly. Then use the computer on battery power for a while to make sure it remains stable and does not shut down unexpectedly.
You do not need to repeatedly drain a modern battery all the way to zero. In fact, frequent deep discharges can add unnecessary wear. Normal charging habits are fine. If the battery indicator seems inaccurate during the first few charge cycles, allow the computer to run down to a low level once, then charge it fully without interruption.
Keep an eye on heat, charging errors, or a battery that is not recognized. These issues can indicate an incorrect replacement part, a loose internal connection, a charger problem, or a fault elsewhere in the computer.
When Professional Battery Replacement Makes More Sense
Do-it-yourself battery replacement can save time on a simple external battery, but internal repairs are not always straightforward. It may be better to have a technician handle the work if the case is difficult to open, the battery is swollen, the computer has water damage, or you are unsure which replacement part is correct.
Professional service is also useful when a battery problem may be masking another issue. For example, a failing charging port, damaged power circuitry, or excessive heat can shorten battery life or prevent a new battery from charging properly. Replacing the battery alone would not solve those problems.
For homeowners, remote workers, and small businesses in Central Florida, Computer Tech Pro can diagnose the cause of charging problems and replace a laptop battery when replacement is the sensible option. Clear testing helps avoid spending money on a part that will not address the real issue.
A good battery should give you dependable time away from the charger, not create another repair concern. If the job feels uncertain at any point, pause before forcing a connector or opening the case further. Protecting the computer and your data is always more valuable than rushing a repair.


